Dear Shop Doc,
Like most machinists, when I’m making screws I check most of the dimensions with calipers and a micrometer. But I’ve noticed it’s not very easy to check the hex hole on a screw made with a rotary broach. Instead of using an Allen wrench as a gauge, are there any more precise methods of accomplishing this?
-Disengaged
Dear Disengaged,
Rotary broaching is a great method for cutting internal hexagon and square holes. Most of the work is already done when the pilot hole is drilled, so the whole operation is generally focused on cutting out the corners, or the flat sides of the form. That is what you really want to check. There are also some other common challenges with rotary broaching that can result in quality issues, such as holding the tolerance or developing twist in the form, so we’ll cover those as well.
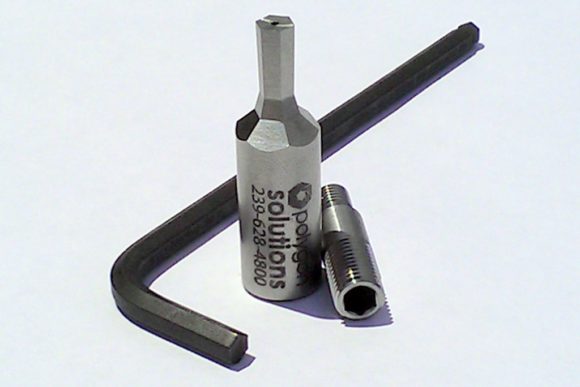
Various solutions exist to solve these problems, but one that works well as an inspection method is to obtain a set of Go and No-Go gauges for the form. Many rotary broach manufacturers can make these gauges when they are manufacturing the broaches. The gauges differ from the broaches because the sides are not tapered, and they may not require other special features such as pressure relief holes, coatings, harder material grades, etc.
Use of the gauges is fairly simple and can be explained to workers of any skill level. If the Go gauge does not fit, the hole is too small or there may be a twist in the form. If the No-Go gauge fits, the hole is too large. Ideally, the Go gauge should fit and the No-Go gauge should not. Typically, parts are inspected at predetermined intervals (every 100 parts for example). Quality inspections can be performed to correct the problem once it is found, resulting in more good parts and less non-conforming material.
Sometimes a third gauge is required. For example, six-lobe (hexalobular) gauges made to the ISO 10664 standard are usually used to check the form of the lobes and their radii. A third round gauge may be required to check the minor diameter.
Gauges also will not wear like cutting tools. If they are made of hardened M-2, for example, the light handheld pressure of checking the holes will not wear them out. M-2 is popular with broach manufacturers, and will likely fit their existing manufacturing processes. The gauges can be fastened into checking fixtures or be held in convenient handles with colored ends. The green end is usually the Go gauge, and the red end is the No-Go gauge.
Today’s machining environment continues to demand more quality and for you to be engaged at every level. Ask your broach manufacturer if broach gauges are available. Rotary broach gauges can be made for hexagon, square, six-lobe, spline forms and more.
Question: Besides measuring tools, what else do you use to gauge your finished parts?
Peter Bagwell, Polygon Solutions Inc.

3 Comments
Someone just asked me about using the broach as a gage. However, the broach cannot really be used as a gage because the broach will cut the form right to size. This would create a very tight fit when trying to reinsert the broach into the hole. Just because the broach doesn’t fit doesn’t mean the hole is out of tolerance. Additionally, the broach may wear down and become too small to be used anyway.
I have found, that one good way of having a double check for a part is this. In our shop, no matter the size of the order, a part must be ok’d before production begins. This part is marked as a “ok” part and is placed on the inspection table at the machine. This way a machinist can visually check his part against the ok part for a quick check. Also, a gage can be checked against that part to insure it hasn’t moved. It has saved many jobs by having this part to check against.
So, a workshop can also become a “no-go-area” if things won´t fit