By Chad Waldo
Today’s Machining Archives August 2007 Volume 03 Issue 08
The story is almost a cliché these days; the customer needs parts yesterday and you have a week’s worth of production left.
It was a typical Monday morning when we got the call from the Norfolk Naval shipyard. There was a container ship leaving 10 days from Monday, and our parts needed to be on that ship. Production was still in process and would be finished Thursday afternoon. With that in mind, we told the procurement officer that there shouldn’t be a problem and hung up the phone. But upon checking the parts list for that order, we quickly discovered that there were two parts which required heat treating.
It wasn’t until we called our outside heat treating service company that we realized we had a big problem. Their current backlog was one week. There was no way to make the boat unless the parts were completed and out by Tuesday. We were at least two days short of time.
 One constant truth about manufacturing I have found is that you always have options. Ours were to either ship the parts late and lose the contract, speed up the manufacturing process or heat treat the parts in house. With a limited window of only a few hours to make this decision, we dissected the choices, one at a time. Option one was out of the question; we simply could not afford to lose the contract. We quickly discovered that speeding up manufacturing wasn’t possible without shutting down several other jobs that were just as hot. In the end, the only option that made sense was heat treating the components in-house quickly.
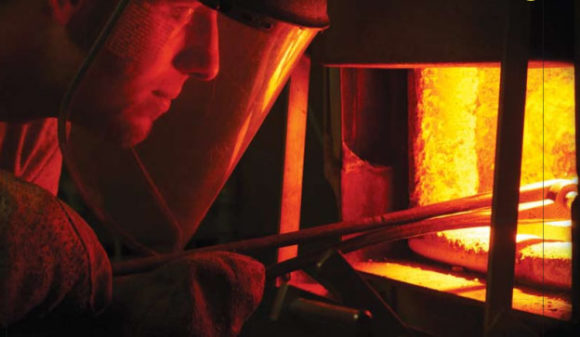
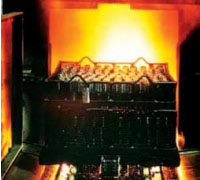
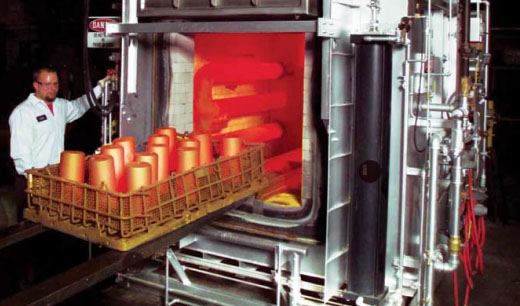
We already had some of the equipment in place to make heat treating feasible, but we had no idea if it would work right. For our socket production line, we had installed a furnace next one of our punch presses. This setup was used to heat blanks up to 1800 degrees Fahrenheit. There was a large hood over the furnace to pull out heat and gas. We had access to several air lines, and one gas line could be tapped into if needed. With that layout in mind, we had the rest of the afternoon to figure out the best method to finish the parts in-house.
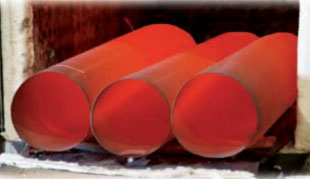 We referenced every handy Earle M. Jorgensen steel catalog and looked up the heat treating specifications for 1045 CR steel. There were two methods we could use. We could heat it to 1575 degrees Fahrenheit and water quench it, or heat it to 1625 degrees Fahrenheit and oil quench it. We fetched a five-gallon steel pail of water before our furnace was up to 1575 degrees. We stuck a few scrap pieces of 1045 CR into the furnace and waited for it heat up. Once the parts were the same color as the inside of the oven, we pulled them out one at a time with a long pair of tongs. The operator plunged them into the water as fast as possible, to lessen the exposure to the air.
Our testing indicated that the hardness was 49 to 50 Rockwell on all of the parts. The next step was to temper the parts and get the Rockwell back down around 38 to 40. We had a large oven that was used to process plastisol parts after dipping and was capable of reaching 800 degrees Fahrenheit. After checking again with the Jorgensen book, we found that 1045 should never be tempered below 750 degrees, but there was no reference as to how long you should leave the parts at that temperature. After an hour of tempering we decided to pull out the parts and check their hardness. We thought we had everything solved all in that one afternoon; the parts were at 41 Rockwell. The inspector stood behind me examining one of the pieces I had just hardness-tested and she found a crack in the part. After looking at them all carefully under magnification we discovered they were all cracked. Although the crack was tiny, it was quite a buzz kill. No crash is minor. Quenching with water failed, so we had to find another method.
Our second option was to search for quenching oils. We called a company called Heatbath Corporation that offered several types of quenchants. After they got over their shock about our attempts to quench with water, they suggested AAA quench oil. We ordered a 55 gallon drum, which shipped out the following day. They explained to us why the water method did not work. It was simply too fast. The AAA oil slowed the cooling rate down enough to keep the part from cracking, yet still allowed it to be hardened. Heatbath’s technician was not alarmed by bringing the parts into the open air prior to submerging the parts in the quenching oil. Unfortunately, this process would leave the parts with an oily coating, which was not what we wanted. We would need to clean the oil off the parts before they entered the tempering process.
The AAA oil arrived on Thursday and we moved quickly. Instead of putting oil into another five-gallon bucket, we just cut the top off the barrel and stuck it next to the furnace. There were several ways we could have approached the next step in the process, but we got ahead of ourselves and just started heat treating the actual parts. Six pieces were sent to inspection and the results were a disappointment. None of the parts had the same hardness. We had to stop production immediately. Another round of talks with Heatbath enabled us to discover that our problem was lack of uniformity of the bath. We would need to agitate the bath and keep the oil temperature consistent. They sent us a quick sketch illustrating the best approach for our setup. We needed to run steel airlines down the sides of the drum and along the bottom, drilling holes in one side of the pipe to bubble air towards the center of the bath.
We started putting the airlines together and welding pipe on Friday morning. The agitation worked well and the parts were coming out at around 42 Rockwell. The cleaning phase of our process was carried out by using an aggressive chemical in a tumbling operation. Once clean, the components were moved to the tempering process. Inspection readied a series of tests for our first batch and found that the hardness was dropping too low after tempering. Talking to our local heat treater led us to the conclusion that tempering will not always lower the hardness of the part, and in fact, it is not intended to lower it more than a few points. Our times for baking would have to be judged one part at a time until we understood how our items would be affected. But by the end of the day, we had built a set of racks that would allow us to temper all of the parts in one large load. We had cracked the heat treat code for at least one group of pieces.
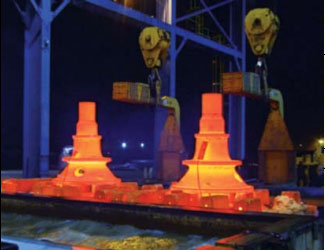
By becoming in-house heat treaters, we discovered several benefits. The most important was lead time. Even with our process being extremely manually intensive, we were beginning to finish our production runs ahead of schedule. When we added up our time and labor for taking the parts to an outside service for heat treating, we realized how much time and money was being wasted. Our costs went from .40 to .50 cents per pound down to .05 and .10 cents per pound. We also developed the ability to maintain more consistent part hardness with in process inspection.
Heat treating is not for everyone. It’s smelly, dirty and extremely hot. But the parts were finished and shipped out by Monday morning, one day early. There is nothing more satisfying for a man than to actually fix something or make it better. We improvised our way through a real mess, and I learned a valuable new skill.
